หัวข้อนี้จะอธิบายถึงการเชื่อมต่อ Power Shell จากเครื่อง local ไปยังเครื่องที่เป็น VM ที่อยู่บน Azure เนื่องจากการเชื่อต่อจะต้องมีการ Install Certificate ของเครื่องปลายทางก่อนจึงจะทำการเชื่อมต่อเข้าไปได้
ขั้นตอนการ Export Certificate เครื่องที่จะทำการ Remote PowerShell Command
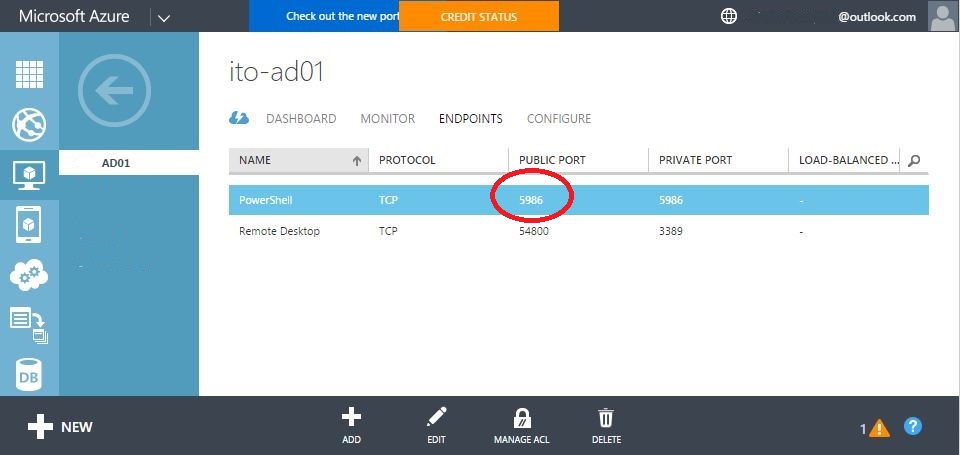
1.เริ่มแรกให้เข้าที่หน้า ENDPOINTS บน AZURE WEB MANAGMENT
ให้ดู PORT ที่ใช้ในการเชื่อมต่อ PowerShell
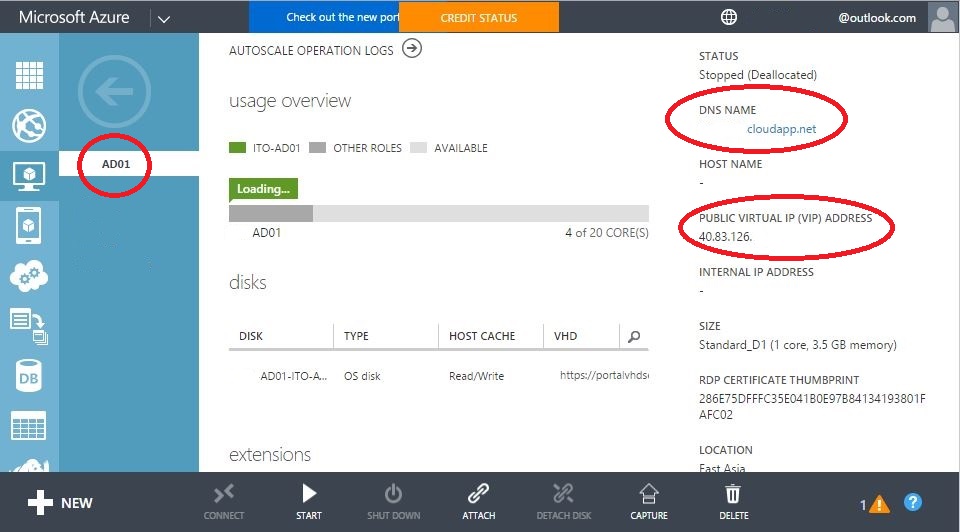
2. ดู ComputerName, IP, DNS(Service) ของ VM
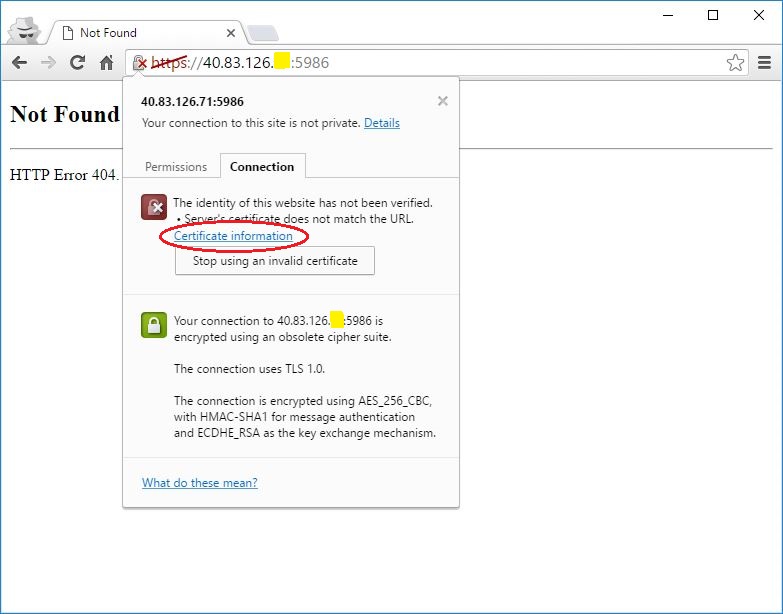
3. Download certificate โดยเปิดหน้า web ใส่ IP ของ Server และกดเข้าไปดู Certificate Information
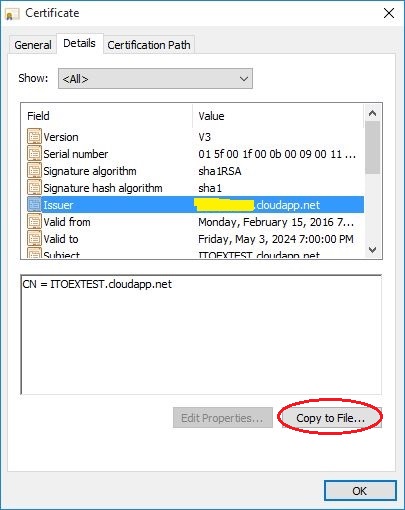
4. เลือก Tab > Detail
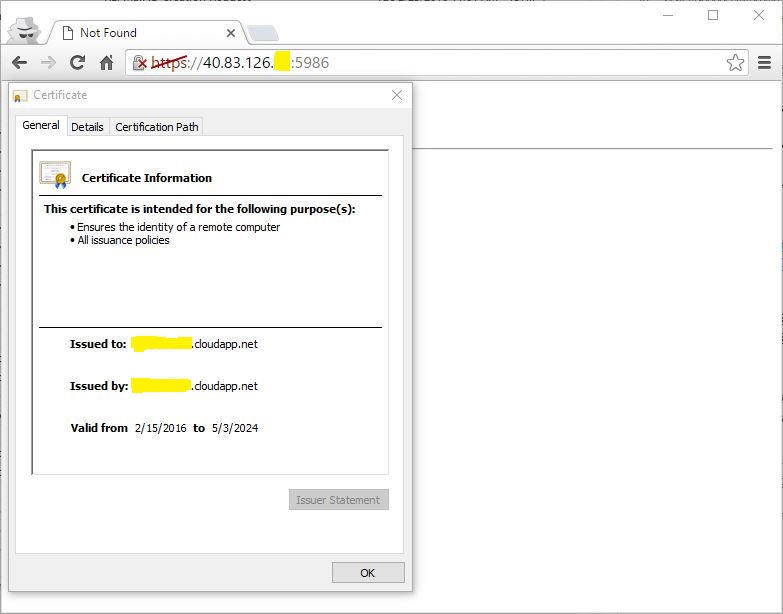
5. เลือก Tab > Detail
6. เลือกที่ Issuer หลังจากนั้นกดปุ่ม Copy to File... เพื่อทำการ Export Certificate

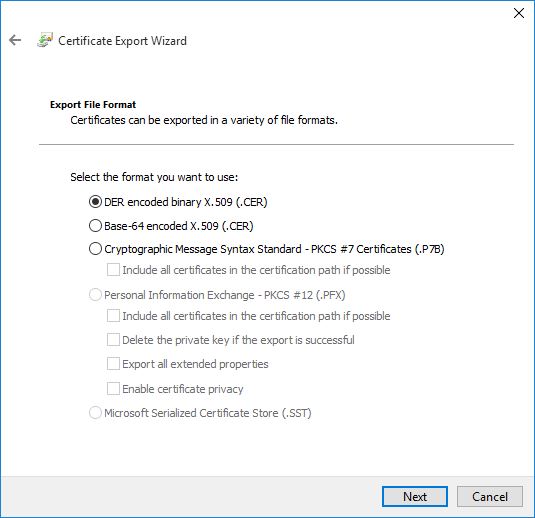
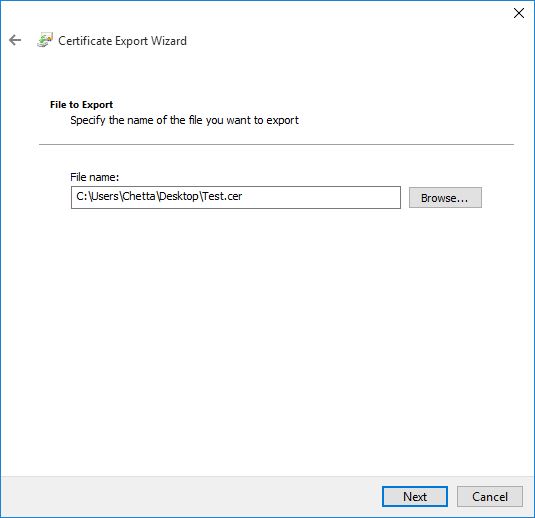
7. เลือก Path ที่จะทำการ Save Certificate
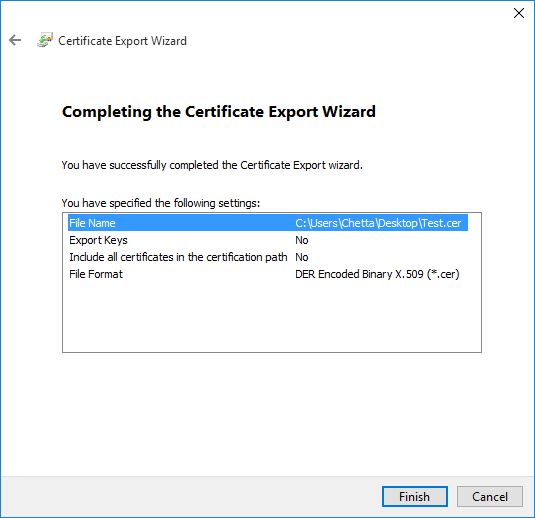
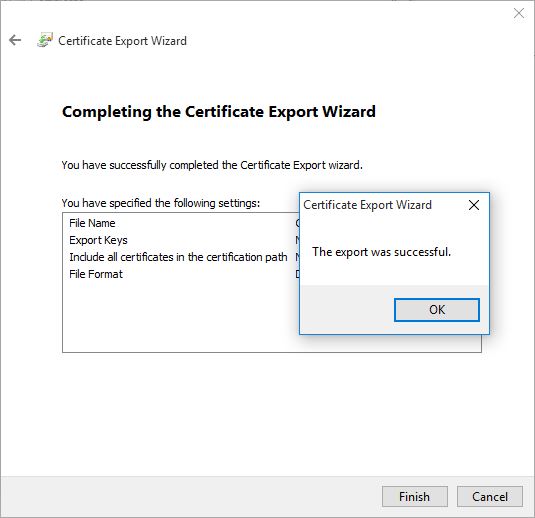
8. เสร็จขั้นตอนการ Export Certificate เครื่องที่เราจะ Remote PowerShell Command ไป
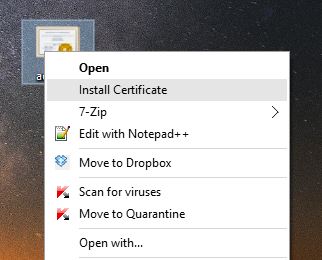
ขั้นตอนการ Install Certificate ลงบนเครื่องที่จะทำการ Remote PowerShell Command
9.ไปยัง File Certificate ที่ได้ทำาการ Export กดคลิ๊กขวาเลือก Install Certificate
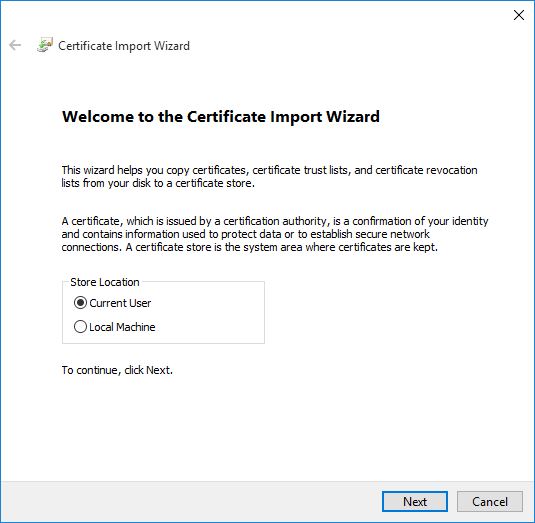
10. เลือก Current User แล้วกด Next
11. กด Brows
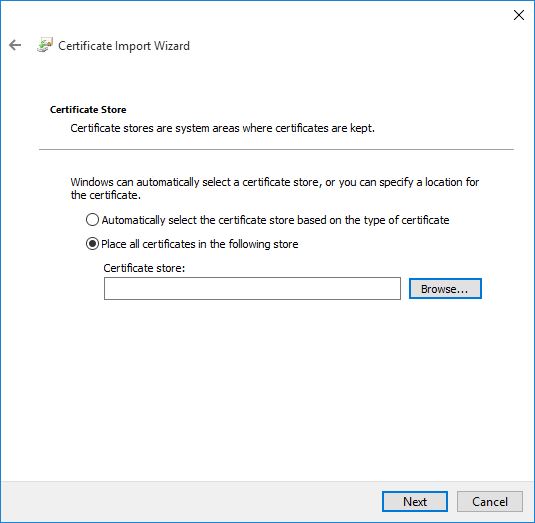
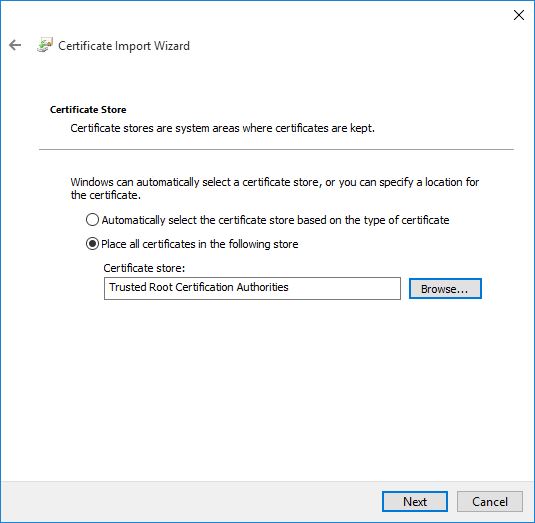
12. เลือก Trusted Root Certification Authorities กด OK

13. กด Next
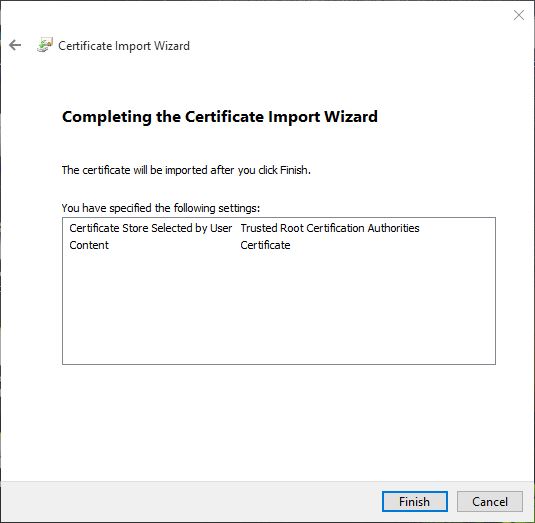
14. Certificate ถูกลงไว้ในเครื่องเป็นที่เรียบร้อย กด Finish เพื่อยืนยัน

ทดสอบ Connect Remote Powershell
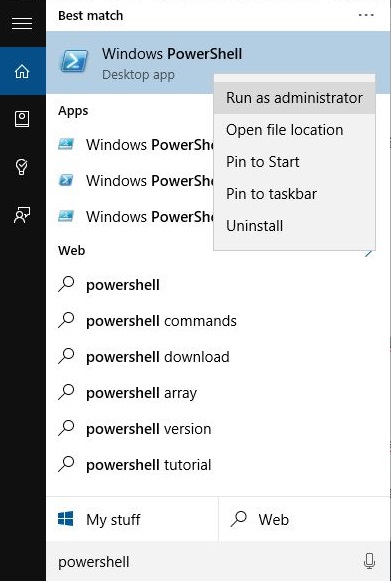
15.เปิด Console PowerShell บนเครื่องเราขึ้นมา กด Run as administrator ด้วย
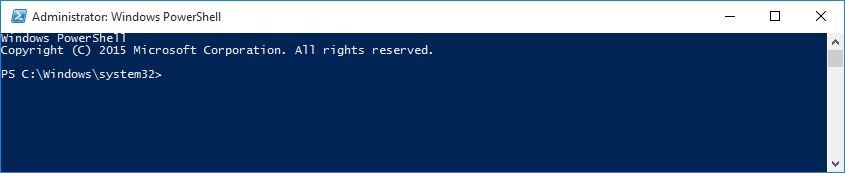
16. หน้าตา PowerShell เป็นแบบนี้
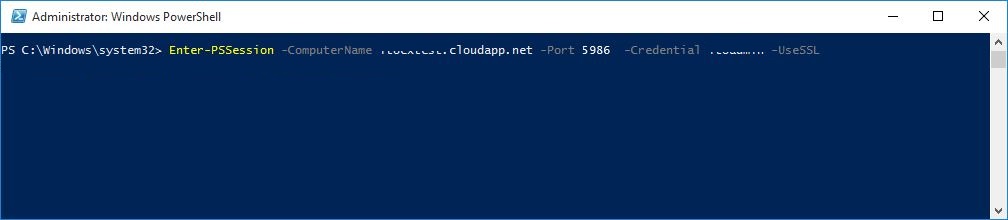
17. Remote powershell ด้วยคำสั่ง
Enter-PSSession -ComputerName <machinename>.cloudapp.net -Port <remoting-endpoint> -Credential <username> -UseSSL
machinename: ให้ใส่ DNS ที่มี .cloudapp.net ดูได้ที่หน้า Dashboard ในเว็ป Azure Console
port: ดูได้ที่หน้า Endpoint
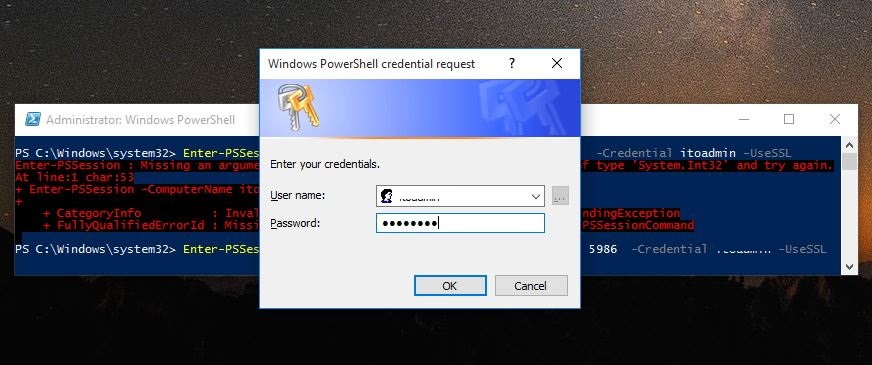
18. เมื่อส่งคำสั่งเชื่อต่อ Session ไปแล้วจะมีหน้าให้ใส่ User Name และ Password เป็น User&Password เดียวกับที่ตอนสร้าง VM ขึ้นมา
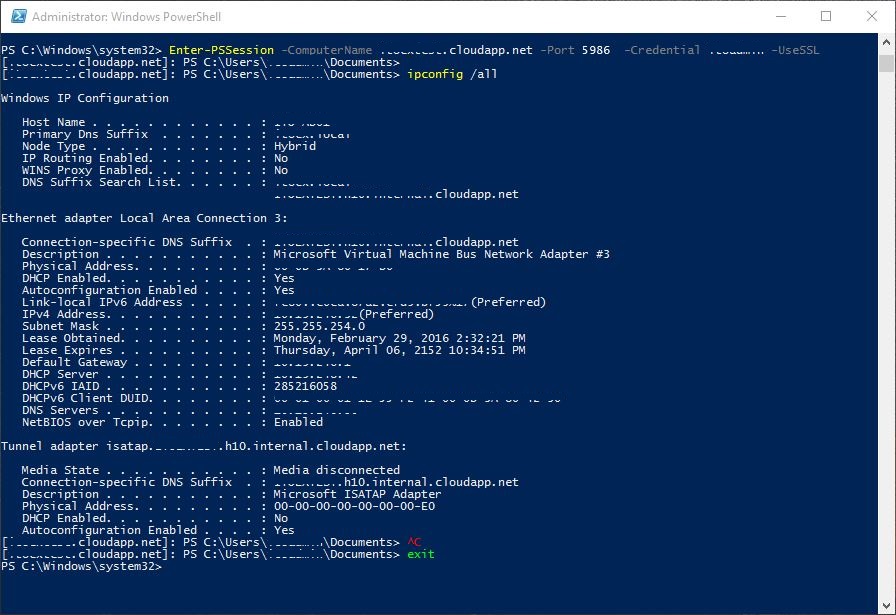
19.หลังจากที่ต่อสำเร็จ ก็สามารถใช้คำสั่ง PowerShell ไปยังเครื่องที่ Azure ได้แล้ว (เมื่อต่อสำเร็จจะเห็นว่ามีชื่อเครื่องที่เชื่อมต่ออยู่ด้านหน้าสุด)

20. ทดลองคำสั่งผ่าน Remote PowerShell ด้วยคำสั่ง ipconfig /all
21. เสร็จ